WHAT WE OFFER

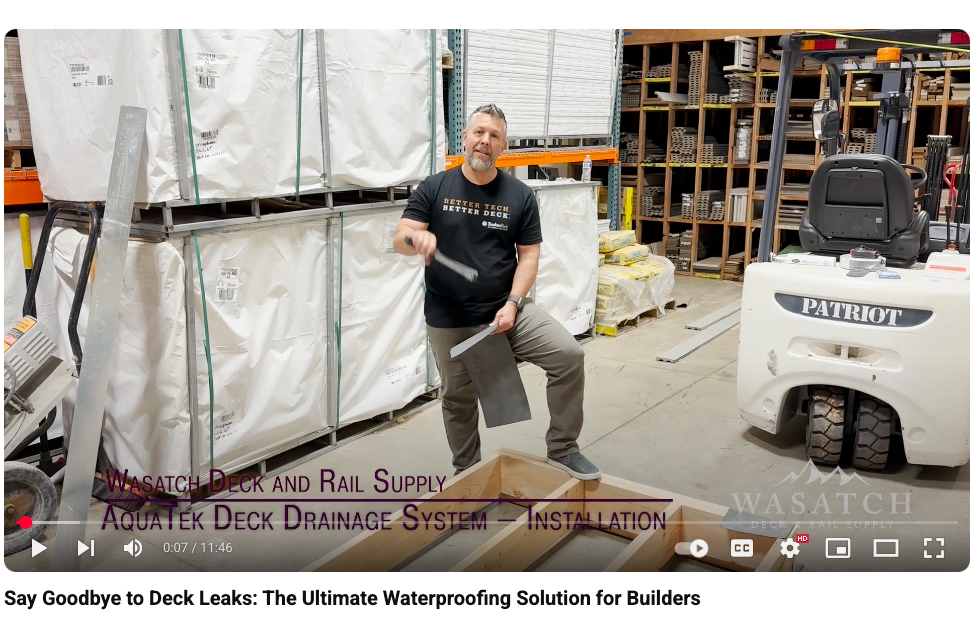
Watch How a AquaTek Drainiage System is Assembled
Fill Out The Form Below to Get a Quote

Aquatek Drainage Hub
Everything You Need to Know About
Deck Drainage
The complete resource library for AquaTek - the contractor built deck drainage system by a Utah deck builder with 20 years of experience.
Custom cut. Simple install. No call-backs.
20 +
years builder experience
4-Step
simple install
process
100%
custom cut to specs
UTAH
local supply & support
Resource Library
Everything You Need to Build it Right
Five deep-dive resources covering every angle of AquaTek deck drainage system - from the origin story to climate-specific guidance to cost estimates.
START HERE - COMPLETE GUIDE
The Ultimate Deck Drainage Guide
Everything about AquaTek in one place. How Chris built it, why it works better than anything else on the market, what the system includes, and answers to every question contractors ask before ordering.

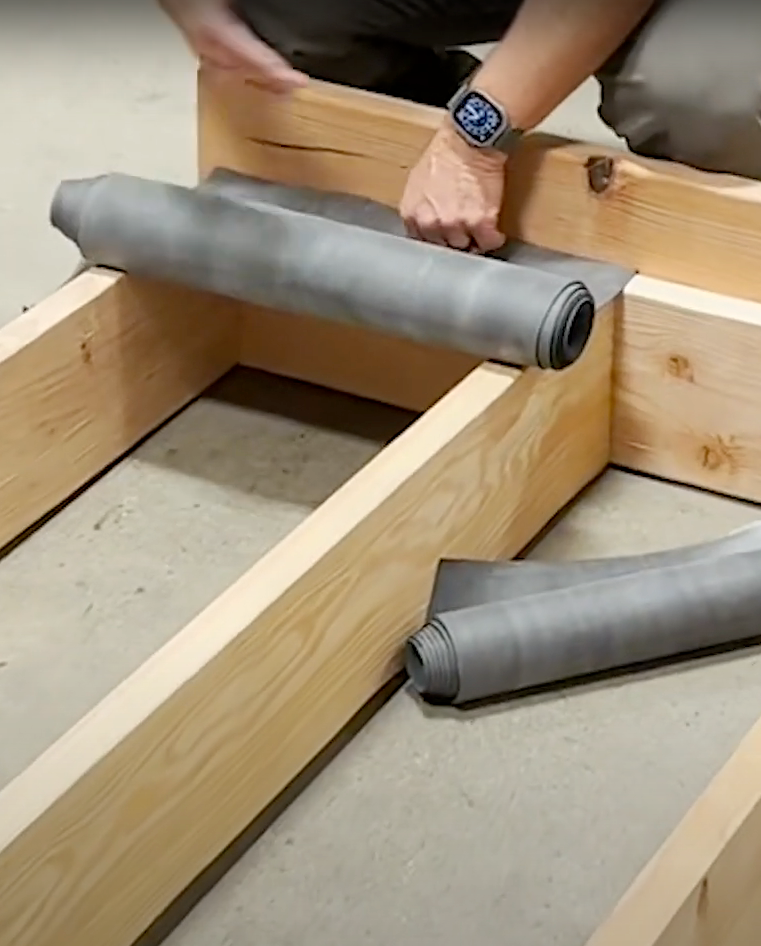
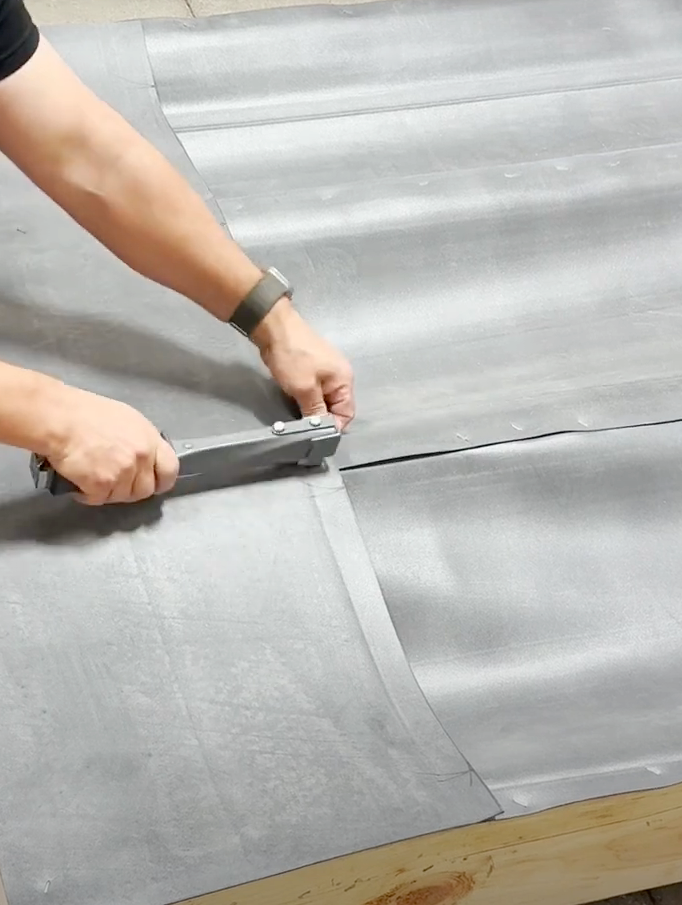
INSTALLATION
Installation Best
Practices
Walkthrough of a complete
Aquatek install.

Heading 4
Heading 3
Add paragraph text. Click “Edit Text” to update the font, size and more. To change and reuse text themes, go to Site Styles.


Climate
Climate Protection
Desert conditions, rain, snow and freezing conditions. Why AquaTek is the solution for Utah's weather.

Material Cost Calculator
Materials Cost
Calculator
Enter deck dimensions to get a preliminary material estimate.

Comparisson
Competitive
Advantage
An honest feature by
feature comparisson
.png)
I kept getting call-backs. The drainage was failing. I knew what the system needed - so I built it.
Chris Evans has been building decks in Utah for over 20 years. He watched drainage system after drainage system fail his customers. Sagging, leaking, and causing damage .
He wasn't willing to keep sending that product home with clients. So he engineered his own. AquaTek. A fully custom-cut system with sloped troughs, integrated beam covers, and a self-sealing panel design that he'd tested in Utah's harshest freeze-thaw conditions.
Now he's offering the system to every contractor who's tired of the same call-backs.
Because Details Matter.
Custom-cut in
4 Simple Steps
HOW IT WORKS
01
Measure Your Deck
Take accurate measurements of your deck length, width, joist spacing adn beam locations. Our order form guides you through what you will need.
02
Submit Your Request
Send your dimensions to Wasatch Deck & Rail. We review your project and prepare a custom cut list - every panel and beam cover sized to your deck.
03
We Cut It For You
Aquatek panels are cut precisely to your specs at our facility. No field measuring, no guessing, and no waste.
Everything arrives ready to install.
04
Build With Confidence
Install following our step by step guide. Efficient. Effective.
Plus, we are here to consult you along the way. No more guessing, no time delay, no waste.
The No Call-Back system.
WHY AQUATEK
Designed to Protect Your Reputation
Every feature in AquaTek was put there because a contractor needed it. Not a marketing department.


Looks Great Below
The under deck view is clean and finished. Homeowners can actually use the space below!


Everything You Need to Know About Deck Drainage
The AquaTek Deck Drainage System is your go-to solution for keeping the space under your deck clean, dry, and functional—rain or shine. Designed for easy DIY installation, each system is custom-cut to your specs with sloped troughs and beam covers that make waterproofing simple.
Order online through Wasatch Deck and Rail by filling out the form below or contact us for help with measurements and materials. Want it professionally installed? We’ll connect you with trusted contractors who know the system inside and out.

STEP 1
Measure Your Space

STEP 2
Submit Your Request
STEP 3
We Cut & Prep Your Materials
STEP 4
Receive and Build
Resources
1. Instructional Videos
2. How To Guides
3. Phone Support

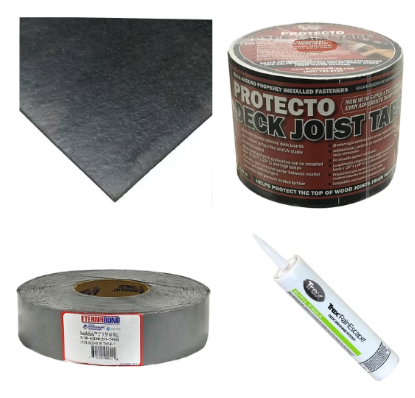
1. AquaTek Material
2. Deck Joist Tape
3. Eternabond Double Sided Tape
4. Trex RainEscape Caulk
Tools You Will Need:
1. Hammer Tacker Stapler
2. Sharp Utility Knife
3. Caulk Gun
Whats Included
Ensure all joists are clean and dry, and clear out any dirt and debris where the ledger board meets the house.
This connection point is critical - make sure it's spotless before proceeding.